Monday, May 16, 2011

Mamma Used to Say...and Simon Says Stamp & Show

Good morning Monday!
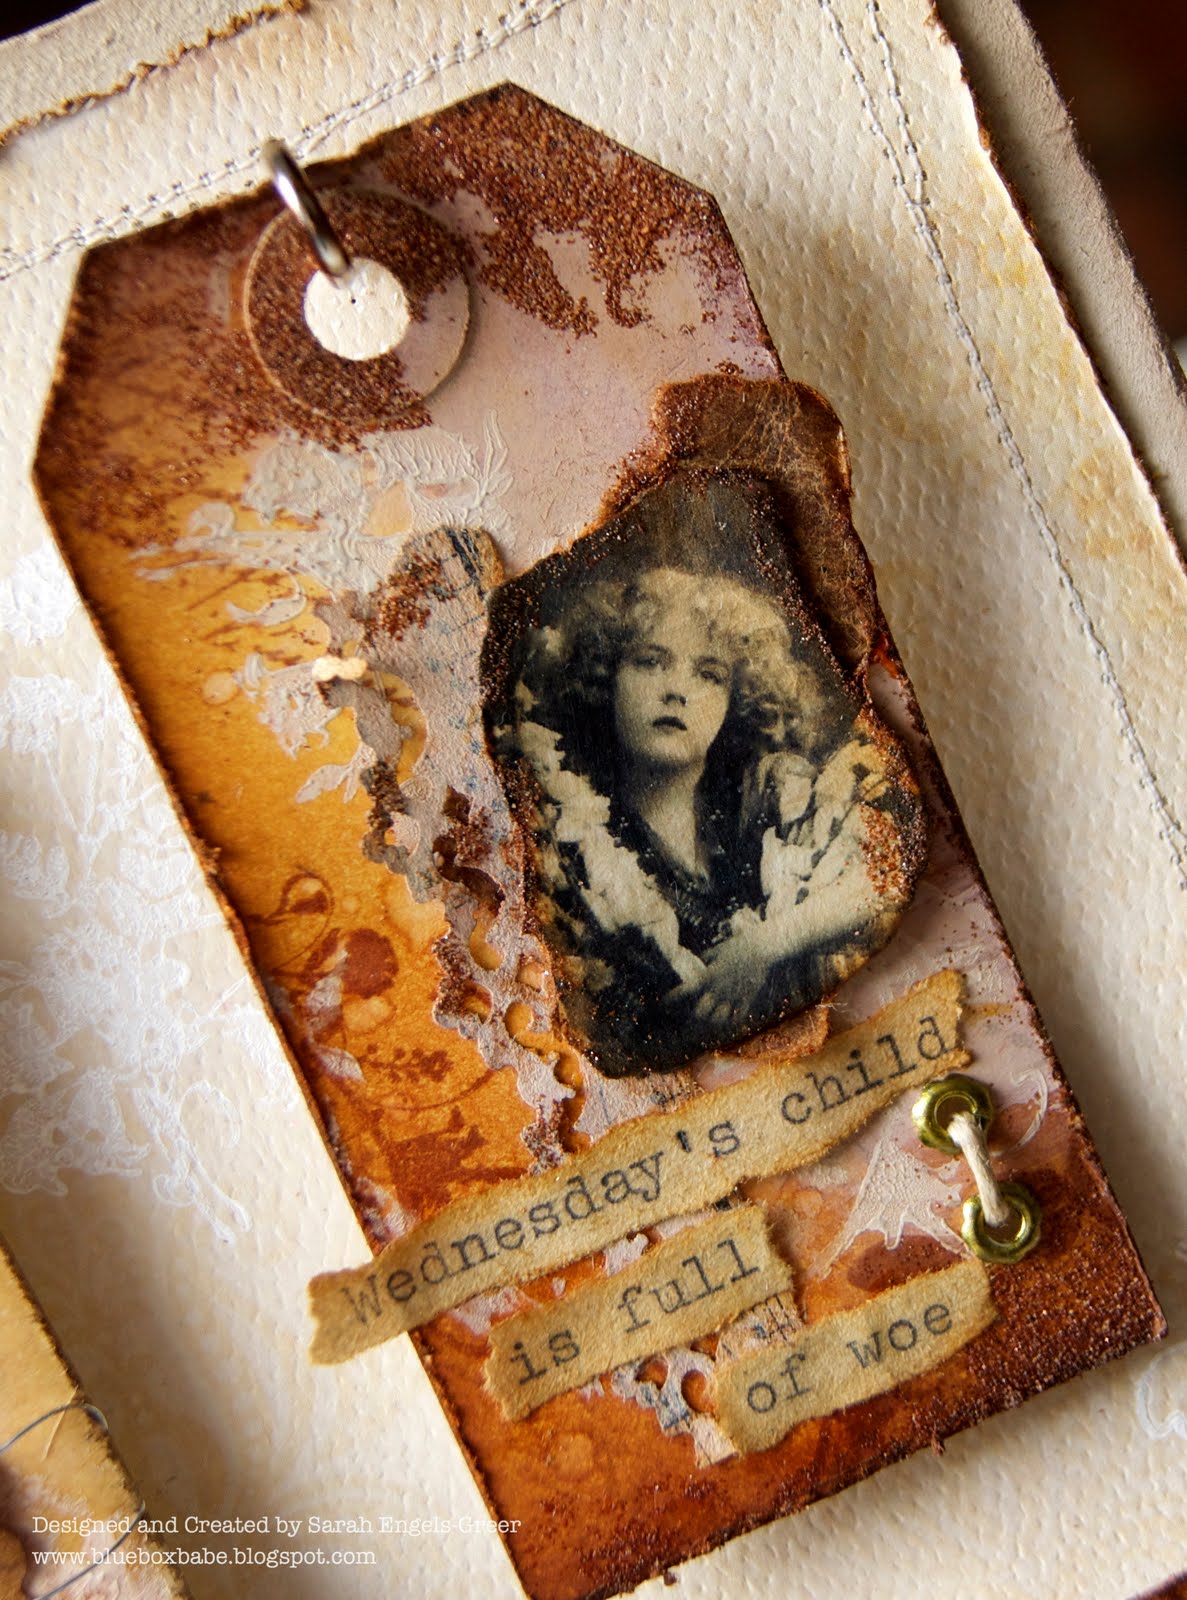
Let us not ponder on where the weekend went to, but dive into a new week of discovery. I was feeling out of sorts last week, so I'm definitely up for a sweeter path. My weekend was spent tinkering away on a new piece for Simon Says Stamp & Show where it's all about An Old Wives' Tale. Victorian eccentricity, Medieval absurdity or something your Nan used to say that still comes to mind... I went with the old poem 'Monday's child' which I learnt from my mum. Wooed by vintage glory, I spent a few days looking for my seven darlings.
 Each lass deserves her own little place so I've created seven hanging tags. I painted an off-cut of chip-board, and then covered it with a white-washed design paper. I stitched, distressed and inked the edges with Vintage Photo and then randomly stamped the Urban Chic florals using my Snow-Cap Dabber for texture. (Listen up, you must clean your stamp immediately - if you want to keep it!) Then I started on my tags trying to find the right feel for each one...

 On each tag I used a blend of Scattered Straw, Brushed Corduroy and Vintage Photo Distress Inks and lots of Distress Embossing Powder with a random sprinkling of copper too.
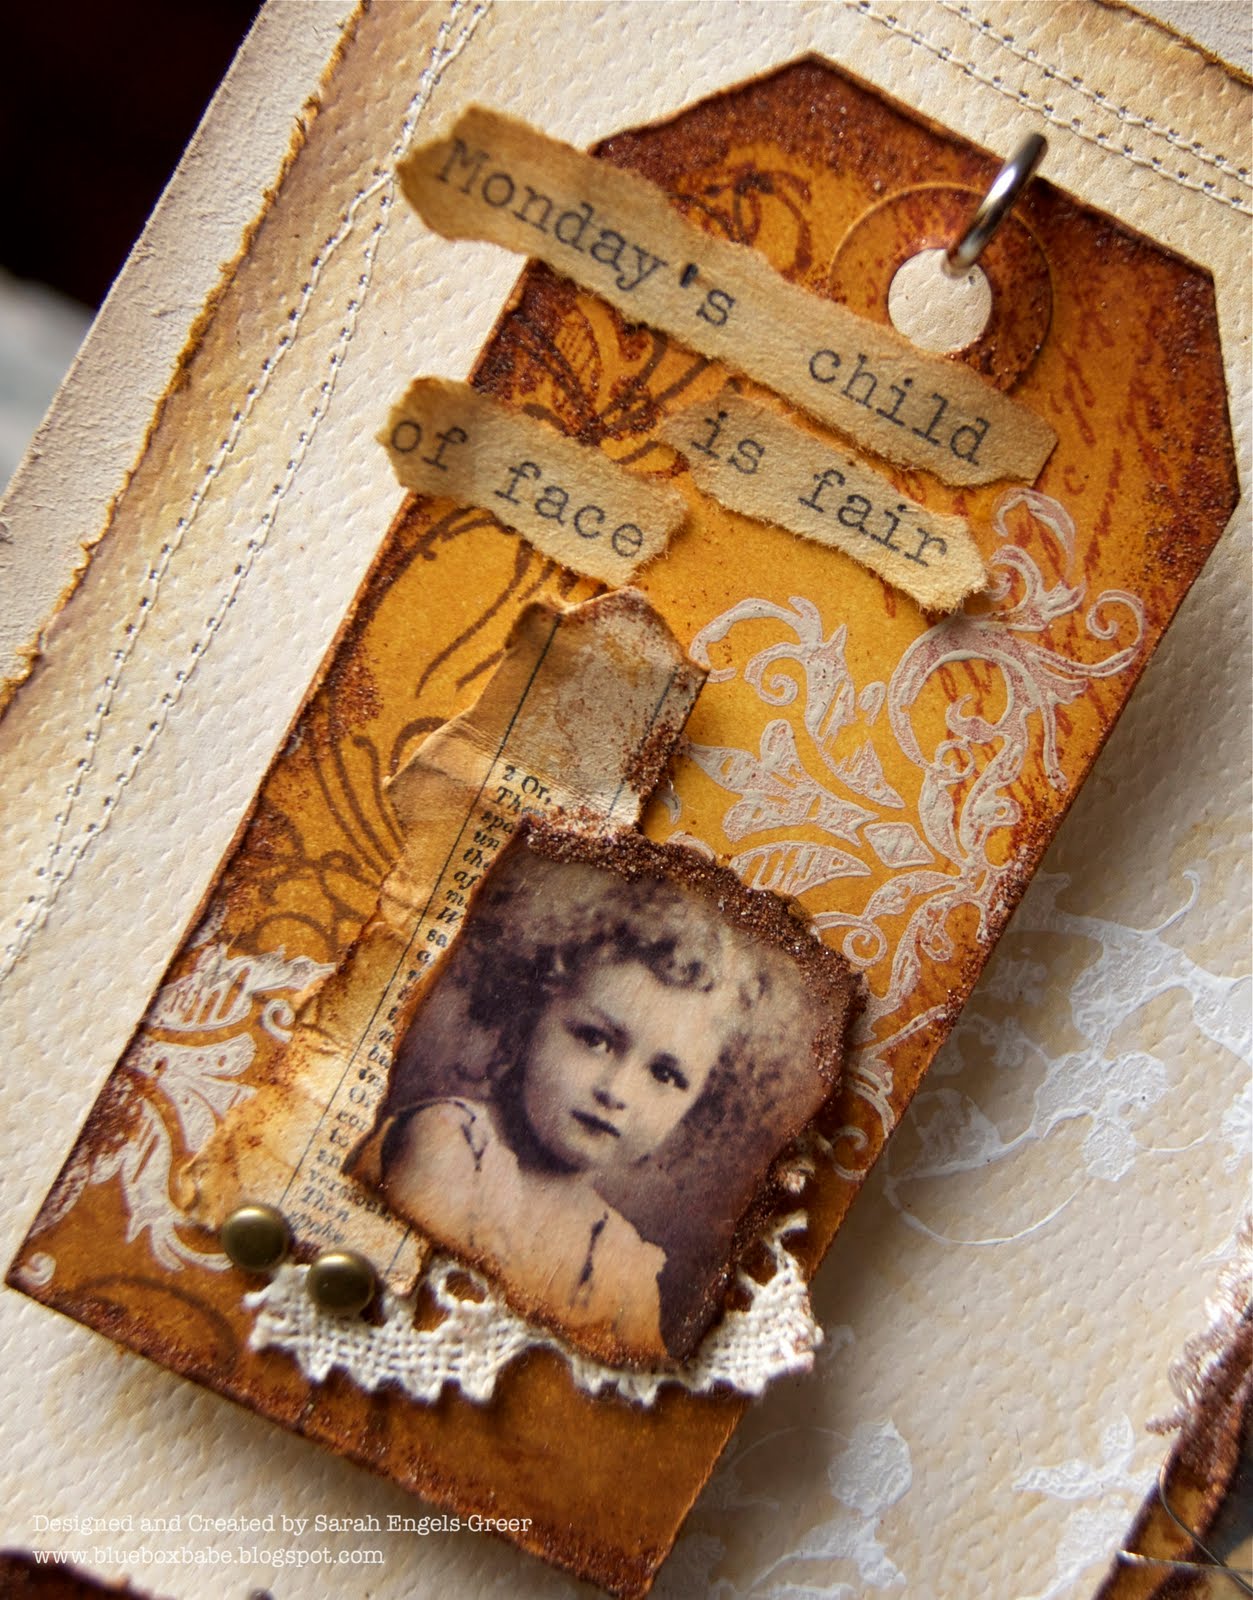
Monday. Here you can see layered stamping using Archival inks and Tim's Urban Chic range. I mixed white paint with Distress ink to get a mushroom tone. Loving that extra texture of the paint and also added a torn paper scrap, lace and brads. Look at that face.
Each image had been stuck to card, aged and then sealed with Claudine Helmuth's Matt medium. It dries clear, strengthens the paper and brings out detail. It's also great for preserving your work as the years go by. Tuesday. Here I used water splatters, splodges of paint and scraps of lace, a rosette frill, wire and staples. The lace started to melt during the embossing but looks even better! The images are a mixture of my own, The Graphics Fairy and ArteZine.
Wednesday and rather woeful indeed. I just loved spending time with each face...playing with all that came to hand, talking to each one as I went... Here scraps from paper lace punching, Glassine paper and two strung brass eyelets. The embossing powder is applied at random along the photo edges  and over the tag. You can always brush off any excess before heating, if you were too zealous.

Thursday - I do like this gal. She just has that something special. Here I first stamped the tag with White Stazon for finer detail before applying the inks. Added tea-dyed muslin, a book-page scrap and stamped a bird onto mica. Stamps from the Mini Ornates set. All the words have been typed onto old paper - again coloured and sealed as above. This vintage paper really needs extra strength.


Friday. I love this one too...I figured she was just right for Friday laden with flowers for someone special. Used a lot of Coffee Archival ink on the tags when I wanted a stronger image. A real essential for your desk.


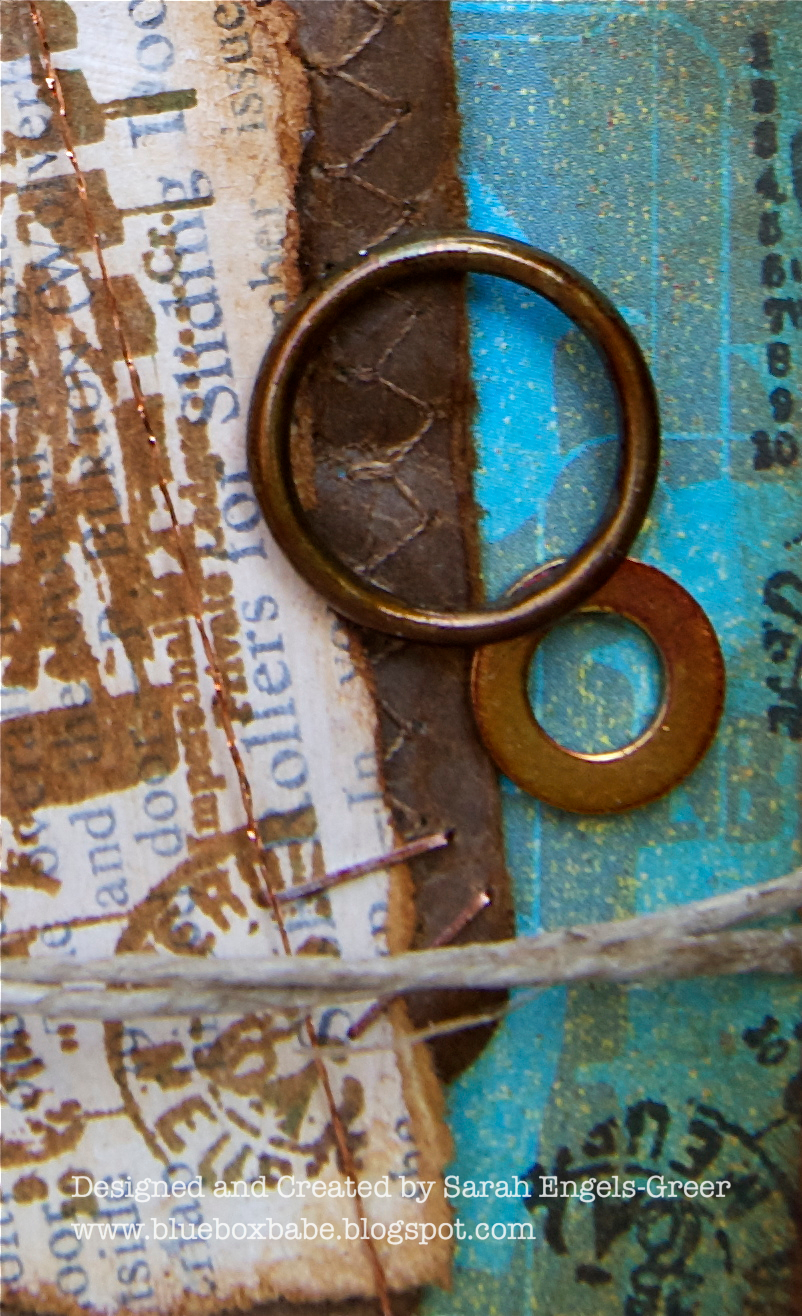
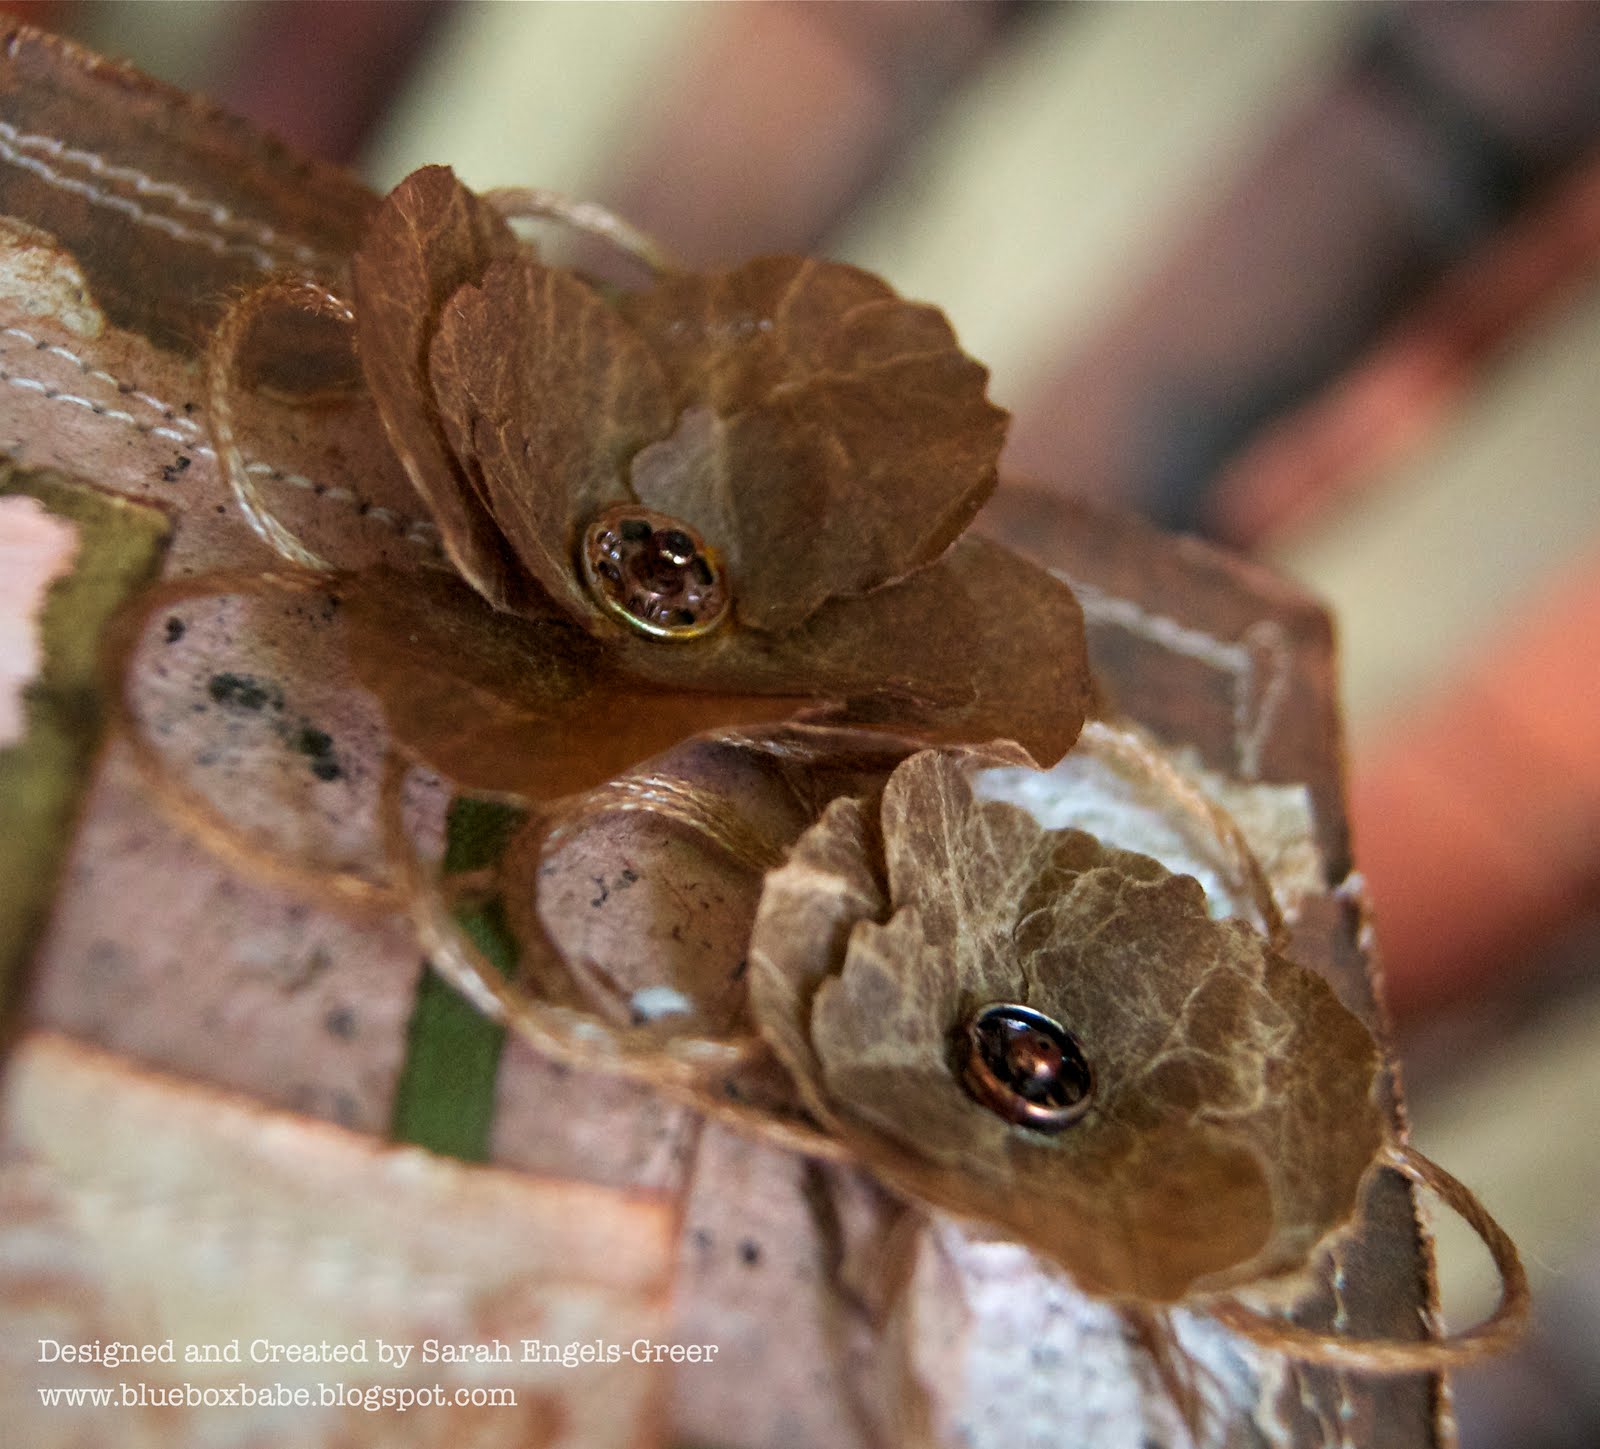
Saturday. Look at this one. Who'd have thought a basin hair cut and massive bow could look so darn cute? Here I've embossed just one side of the tag, then rubbed paint into a crinoline scrap and added a ribbon and a touch of metal with two press-studs. They were pre-dunked in Alcohol inks  as were the tag hooks to get rid of the silver colour.


 And Sunday...I'm not sure what she's up to but bonny and blithe she is. Vintage crocheted lace, a Bible page scrap and gold thread here. I decided to turn the last tag for a little contrast and the end of the poem. I struggled to place her poetry as it is longer. In the end I placed the second part at the side so she wouldn't disappear under a sea of words.

 This rose is made from Glassine Paper. I have stitched around the edges and given it a real crumpling before putting it together, layering on the Distress Powder and Viva Gold. It sits on a bed of all the scraps used on the tags...a kind of encore! Added a length of crocheted lace along the bottom edge to balance things out.

Here you can see more of the hooks and how the tags hang. I think I could do many more with the right faces...each one has a story to tell.

So, that was a week of faces and fables. I wonder which one you are? I'm a Friday girl, so on that note I've hopefully given you some inspiration and I will leave you lots of love.

I really hope to see you join in with the challenge as there is real oasis of tales out there. Head on over to our blog to see more from the Design Team and details on the coveted Top Three crown. We really do take time to look at each entry and appreciate all your efforts. A $50 spree is also in the mix!!!

Thanks for calling by, would love to know you've been or any thoughts you'd like to share...
Sarah.

Friday, May 13, 2011

A Little Shadowplay...

An evening curtsey to all,
 Just in from work, and as thankful as I am for an income, I must say it was minute by minute countdown to off-duty status. Just calling by with my tag which is my take on Grungy Monday at Linda's where we're playing with an Old Festive technique. A faded and slightly forlorn blue mood was the way to go for me...

Just letting the tones, textures and image have all the space. Had help from the aptly named Cloudy Blue dabber and Stormy Sky ink. I just love how this little girl is totally content to play with her own shadow...know that feeling.The evening sunlight in my attic was also in the same mood.
 Two simple words tell a bigger story and a rusty old butterfly feels right at home among the splatters.

A blast of red paint followed by a few scraps of string, ribbon and wire and I'm happy to let her be.


This one feels just right and that's all I ask for today.

See you soon,

Sarah.

Monday, May 9, 2011

Simon Says Stamp and Show Us... Anything!

Hello Mr. Monday!!!
 We crafted, blinked and another week is done...unbelievable. But a new week means a great new Challenge over at Simon says Stamp & Show where we say "Anything Goes" so that's your cue to don your creative capes and dazzle us with your artfulness...To help your mojo into action here is my Design Piece. I decided I could be both Girly and Grungy and created this ring binder book. I really wanted to try out some crinoline Rosettes, make something usable (how many hangings can my house take?) and took some inspiration from a lovely gift from my friend Franka.
I started by painting some scrap cardboard, inking the edges with Vintage Photo. Then I cut five Rosettes from Crinoline and edged them with Scattered Straw, Rusty Hinge and Vintage Photo Distress Inks. I saw them by the oh so talented Tammy Tutterow and wanted to try my own take on them. Fancy trying it out, my team mate Linda sells Crinolone in her fabby Etsy store! I added a metal washer to each centre which I grunged up with a good dose of Distress Embossing Powder.

I mounted them onto the cardboard and added metal stems which are coloured with a touch of Alcohol Ink. Glueing them on was a fiddle but all helped by using the wonder stuff known as Matt Medium. Stamped and cut out two leafy sets from Wendy Vecchi from dictionary papers...boy was that some snipping.
Really had fun doing this bit. Covered some old Thicker letters with two coats from my Snow-Cap Dabber adding texture with the sponge top. Whilst wet I threw on some Distress Powder and heated it. I used a scrap of chicken wire as a background which I grunged up with Embossing ink, Distress Powder and a mighty long blast with the heat gun to get a rusty effect. Note to self, stop when you see smoke! And remember LET IT COOL OFF!!! Otherwise one: it will not be set and rub off and two: it will burn your hand and stick to your skin - an extreme fashion statement even by Vivienne Westwood's standards! Again all glued with Matt Medium. Takes a while to dry but leaves no trace.
Also added an inky metal corner.

I mounted the front onto a hardback cover. Both front and back covers are lightly inked, lined on the inside and randomly stamped with the leaf design again. Then I played around to create a  selection of pages using papers from Graphic 45, Bazzill and Cosmo Cricket. Loving the colours here...

A stitched pocket and stamped tags...

Punched flowers and contrasting wrap arounds...
Another little pocket and mini tag with a few words...
Another distressed pocket, on the other side a glimpse of one of the ribbon holders. You can also just see the back inside cover with sanded edges and a little stamping. Everything is held together with two binding rings embellished with ribbons and string.

A close-up of that lovely crinoline, all thanks to my fab DT friend Linda.


So there you go...girly and grungy, fiddly and funky. So it's over to you folks...what's cooking at your house? Remember you could win a brilliant $50 shopping spree and we're looking for those special creations to make the Top Three! Head over to the blog now to see more from the Design Team and details.
I hope you like my book and feel inspired to play along. Thanks very mucho for calling by and spending some time here, do let me know you came by...and if you have any questions, I'd be pleased to try and help out. Now off you go and have some FUN!

Sarah.

Sunday, May 8, 2011

A Whiter Shade of Pale...

Sunday Greetings to One and All,
 I didn't expect to be be here today but when an image comes to mind I find it just too hard to resist. The challenge over at Less is More is White on White and I could hear the lace calling my name. Maybe the delicate textures of Kate Middleton's wonderful wedding gown are still working their magic...
My love of little gatherings of snippets, detail and texture was confessed many moons ago so... I have used lace, various ribbons and also created a stitched crinoline frill. Then I added a single button for more of a focal point. I didn't want a sentiment as I wanted to leave the card with an open feel - rather than define it's purpose. I think I could use this for many different occasions such as a wedding, birth, christening, sympathy or just a greeting card. Personally, I think I might like to give it to a bridesmaid or Maid of Honour.


I have used a linen textured card stock...I think it fits well with the different pieces. As ever, just had to sew that button on by hand. If it was one of 200 wedding invites, I might think again.


I did spend some time choosing the right pieces - there must be a twenty shades of white ribbon in my collection! Too white, too creamy, too ivory, too blue...it can make the world of difference. Spent ages hanging out of the window asking myself is that white white, or is that white white? I'm sure you know what I mean.

Anyway, that was my Sunday saga. Do take a look at the blog, there are some fabulous creations on show.

Farewell fellow LIMettes and a fully-flourished curtsey to our own CAS royalty, Chrissie and Mandi, for all their hard work. Merci!

Sarah.

P.S. If you're looking for some really great embellishments and unique findings for your cards - visit my friend Linda, The Funkie Junkie. She has a brilliant blog and a great Etsy Shop. Check out my side-bar to win some of her gorgeous Candy!

Friday, May 6, 2011

My Grungy Monday Friday...

Howdy All,

Joy of joys...the weekend had landed. Some of you are probably counting down the last hour until you can officially be in off-duty mode. Hang on in there - it's on it's way. I'm dropping in with my offering for Grungy Monday over at L3 with Linda. We had two weeks due to her exciting shenanigans at Ranger U. So, whads of time, but I am still a tad late. Lazy I am not...I spent yesterday trying to cook up something, but alas it didn't make the cut. Despite intensive counselling and TLC, I just wasn't feeling the lurve and started again today. Here he is...

This week it's all about dimensions, which basically means embedding an element. See Mr. H's demo here. After getting carried away yesterday and failing, I decided to keep things simple and chose a glass fragment. I knew I wanted to use this adorable lad from Paper Artsy and he doesn't need foofs and frills - he just wants to tell you he's dead chuffed with his "catch".

The word is also from Paper Artsy. It was part of a whole saying so I masked off what I needed, inked up with Stazon, removed the tape and then stamped. I always press my glass fragments onto the stamp...a topsy-turvy technique, but it works well for me.

 I've used layers of book pages, stitched glassine paper and several dashes of metal. Trying to keep it boyish with eyelets, washers and staples. After some extra stamping, sanding and inking, I finished it all off with copper thread and parcel string.
 I was so miffed when my other make and mojo went doo-lally...so a big sigh of relief - now I'm joining in with the Happiness vibe. Onto a new DT piece now. Hmmm, time to dive into the think tank.


Savour your weekend and see you soon.

Cheerio and all that,

Sarah.

Also joining in with

PaperPlay Challenges - Show us your style
Bunny Zoe's Crafts - One for the Boys
Pixie Cottage - One for the Boys

Wednesday, May 4, 2011

What's on your Workdesk Wednesday???

Morning All,
The mid-week Mardi Gras of musings, chaos and artfulness is here again. A chance to nosey around other folk's crafty space, all thanks to Julia. Do join in with the desk-hopping and show us what ya got, or ain't got, have created, messed up, drooled over or just fancy sharing...
My desk looking relatively sane, as I had just finished my Less is More cards which is a clean and simple challenge. Well, I understand that concept theoretically...fingers and desk have other ideas. Can't bear to share the Ribbon Rage going on further down the table. This week I am on a quest to use up my scraps. I have bucket loads of bits and bobs so I've made a hanging which started out as a quick ATC. Forgot - I don't do quick...
 Lavish layers, a little lace and a lovely lassie that definitely inspired the play with me sentiment...Just kept reaching for the scraps and springing from ink pad to sewing machine. Been working hard on DT projects lately, so a play day is good for the soul. "Free your mind, and the rest will follow"...as the song goes.

Just like shoes, there's no such thing as too many layers. Here, among other things,  you can see a mini- envelope which I stamped and slipped into the recipe. 

The little girl was buried under a pile of "almost made its". Just couldn't resist that cheeky face.

Flowers made from Glassine Paper which is great stuff because you can crumple, crease and crush away as much as you like.
Used some inked up embroidery thread under the flowers for a change after a visit to Our Creative Corner's Challenge where it is also known as Scrappers Floss. Sounds very dental to me. Still, a welcome change from ribbon.

A cluster close-up! Just to show the purdy butterflies and prove that I really did plunder the scrap-heap. Also came across a pile of dormant hand-made papers which were just perfect in texture and tone for this piece. As said, just played around and relished every minute.

Also just sharing my latest Steampunk piece again in case you missed it. Click Here for my post. I made it for the Simon Says Stamp & Show DT where we have a fabby hands theme challenge. So busy indeed, but having a ball. Just loving every second and scrap of paper!
Got all day tomorrow to play and blog-hop too. Sounds like a good Wednesday to me. Thanks for calling by. Enjoy your week! 

Sarah.

Entering my vintage hanging in the following challenges : 
If the shoe fits - Wings 
One stop Craft - Stitching

Tuesday, May 3, 2011

Less is More...Sweet and Savoury offerings...

Evening to all fellow LIMettes and Blogettes,

Just blogging by on a Tuesday evening with my two simple girls for this weeks Less is More. This great weekly challenge for Clean and Simple cards allows my alter-ego to delight itself in the pleasures of pure card-making and balances out all my other manic marathon all-nighter sessions. This week we're being polite and jubilant as the theme is Thank you and/or Congratulations. I've named my post Sweet and Savoury which kind of makes sense when you see what I went for...

 I typed five rows of randomly spaced thank you's onto a piece of sticky-back canvas, edged it with Distress Ink and layered into onto a stitched scrap of DP, also edged with ink for definition.

I then added a blue organza ribbon for a blast of colour laying it over the bottom row of thank you's. I added two buttons in matching colours to balance out the composition. I did um and ah about using a brad but it looked a bit too blingy and I figured stitching and buttons just seem to like each other. The card edges are also lightly inked to finish it off. That was the sweet bit...

So this is savoury...slightly more rustic and natural in tone and feel. Same idea as above, except this time I've used Kraft card stock, parcel string and distressed edges...and of course a potrait style (do we have official positional jargon for this kind of thing or can I get away with sidey-ways and longy-ways!)

This time a mix of words and phrases - just love my old typewriter as you can say just about anything you like.


Well, within reason on a blog...
So there we go, all done for this week. I'm a bit earlier than normal so that will give me more time to for a stroll around LIMette Avenue.

Many thanks to all of you that make time to call by my blog and leave a few words and a hooray...great job! and well done to Chrissie and Mandi for all the hard work they put into Less is More.

Be seeing you soon.

Sarah.